As I mentioned
at the end of my previous post, I traded my Super Punch Out!! cabinet for a generic Dynamo cab that I intend to drop a Street Fighter II Turbo: Hyper Fighting board into at some point. In the meantime, I decided to hook up a PC for use with emulators, specifically MAME via the RetroArch frontend.
As with my
TVs and Retro Gaming post, this subject ended up being more complex than I anticipated, and the information available online is incomplete and often takes place on forums with poorly hosted pics, etc. So, I thought I'd share my experience here in the hope that others can avoid any potentially costly mistakes.
First off, it's important to realize what an arcade cabinet really is: a low-res tube television in a giant wooden box with some lights and speakers, not unlike
one of those old console TVs. The major difference is that arcade monitors use an RGB connection, which--as stated in my TVs and Retro Gaming post--is the cream of the crop for video quality. That stated, if you don't already own a cabinet and you live in PAL land, you could build yourself a big wooden box and drop a SCART-capable CRT into it and have much the same results with a VGA-to-SCART adapter. To do the same thing in NTSC regions, you would need a TV with "component" (aka YPbPr) video inputs and a VGA-to-component adapter. If you decide to go this route, you'll be able to achieve a pixel-perfect arcade picture on your boxed TV using emulation, but you won't be able to connect actual arcade boards. You'll also need to take care that your PC is outputting a 15 khz horizontal sync rate video signal, which can be difficult to achieve with standard PC components (more on this later).
I wanted to be able to connect actual boards, so I went with an actual arcade cabinet, which adheres to the
JAMMA video and connector standards. If you decide to go down this path, I strongly recommend going JAMMA-compatible, rather than using some funky custom cabinet (e.g., a Punch Out!! / Play Choice 10 cabinet...), as it will make switching among boards--and your PC--much easier. That was the entire purpose of the JAMMA standards, after all.
The JAMMA connector standard supports 2 players, each with an 8-way joystick (i.e., 4 switches per) and 4 buttons each (a start button and 3 action buttons for each). This is plenty of inputs for most games, but not for the 6-button fighting games that became popular toward the end of the arcade era. The JAMMA standard was extended to accommodate these additional inputs--sometimes known as JAMMA+--but this limitation to the original standard is important to keep in mind.
So, assuming you have a JAMMA/+-compatible cabinet and monitor, you have some other decisions to make. For controls, you have a number of options, including: 1.) dropping in the guts of a pair of USB joysticks, like the Mad Catz TE/SE arcade sticks, which are well-supported on PC, 2.) use the guts of a pre-made PC-to-arcade control panel, like those from X-Arcade, 3.) use a purpose-built control interface board, like Toodles'
Cthulhu board or Ultimarc's
I-PAC2/4 boards, or 4.) piggyback off the existing control panel connection to your cabinet's JAMMA connector via Ultimarc's
J-PAC interface, which is what I chose:
The J-PAC allows you to keep the same controls whether you're on PC or actual arcade board, so you're not having to mess with a bunch of quick-disconnects every time you want to switch between the two. Moreover, the J-PAC is designed to block out incompatible video signals via the red jumpers. On a standard CGA arcade monitor, you'll want to leave only the bottom, 15 khz jumper and remove the other one, which comes defaulting to 31 khz (i.e., VGA standard, and potentially dangerous for some arcade monitors).
While the J-PAC is an excellent piece of kit, they have made a few design decisions that are...strange, to say the least, and you should be aware of them ahead of time. First, and possibly most importantly, J-PAC boards no longer come with a micro-USB port, but it seems none of the marketing shots on the websites of Ultimarc or resellers reflects this. Instead, all you get is some empty solder pads where the port should be:
Instead, they run the USB signal through the left-hand PS/2 port, so you can either connect the board to your PC using a PS/2 Male-to-Male cable, which I certainly don't have on-hand, or use a PS/2-to-USB adapter like this one (note: only "dumb," i.e., non-active, adapters will work):
in conjunction with a USB-A-male-to-USB-A-male cable, which is extremely uncommon and, again, I certainly did not have one on-hand. So, since I had to order something anyway, I went with a PS/2 Male-to-Male cable, since PS/2 is a stream protocol and doesn't have the limitation of USB polling rates.
The other strange choice is on the VGA port. Instead of attaching a VGA female port, as you might expect from monitors and so forth, they have attached a VGA male port, which means you can't use a normal VGA cable and must instead use a VGA extension cable (i.e., with one male end and one female end). This choice is made stranger still by pairing the male VGA port with *female* thumbscrew ports, which means you can't attach a normal extension cable without first removing the thumbscrew ports, which is the only thing holding the VGA port's faceplate to the board! After digging around in your cabinet for your lost faceplate, you can flip the thumbscrew ports around and screw the male ends into your VGA extension cable's female thumbscrew ports, but the on-board port gets in the way of the screws turning and basically makes it a big pain in the ass.
Andy, if you read this: please switch to a female VGA port, or at least fix the thumbscrew/faceplate issue. It's quite frustrating.
Anyway, once that's all done, you'll also need to attach your additional buttons--that is, the 3 kick buttons for each player--to the handy screw terminals on the left-hand side of the J-PAC. Ultimarc has given us 5 additional inputs per player (conveniently labeled 1SW4, 1SW5, etc.), as well as unpowered speaker ports (powered speaker ports would have been nice, of course, but it's a limitation of the JAMMA connector's power draw, apparently) and a couple of grounds. I was pleased to find that I didn't need to actually hook anything up to the provided grounds, as the existing common-ground that was already daisy-chained across my control panel buttons worked just fine. This will reduce the amount of fiddling with disconnects necessary when switching to an actual arcade board from the J-PAC.
As a result of the unpowered speaker ports, you'll need to either cannibalize the amplifier out of some cheap computer speakers and attach your cabinet's speakers to it, or else simply drop some computer speakers, amplifier and all, into your cabinet and call it a day, which is what I decided to do. It doesn't sound awesome, but it's passable.
You'll also have to decide how and where to house your PC components within the cabinet. Arcade cabinets have a substantial amount of empty space inside of them, particularly down around the coin door, but none of it is really easily accessible unless you can remove the entire back of your cabinet. On mine, the back does not remove easily, other than a small access hatch for servicing the monitor, so I stuck my PC components in there, below the monitor cage, beside the cabinet's own power supply:
As you can see, I also rigged up an extra arcade pushbutton I had lying around to serve as the PC power switch.
Speaking of the cabinet's power supply, Ultimarc's own
J-PAC installation instructions recommend completely disconnecting your cabinet's power supply from the JAMMA connector and only leaving it connected to the monitor. This is good advice for very old cabinets/power supplies, which can burn out over time if they don't see a load in the proper places. It was also good advice in case you plugged your J-PAC into the JAMMA connector upside-down, but
this evidently isn't a problem anymore due to changes in the circuitry. I've also screenshotted Andy's post about it in case that link dies at some point:
Once you have everything installed and situated, you can power on your cabinet and PC and see how it treats you. As long as your J-PAC only has the 15 khz jumper attached, you can rest assured that your precious monitor will be safe, though it's likely you won't get a picture at this point due to incompatible sync in the signal. Instead, you'll just get a crazy image that looks kinda like trying to watch the scrambled premium channels on old analog cable TV.
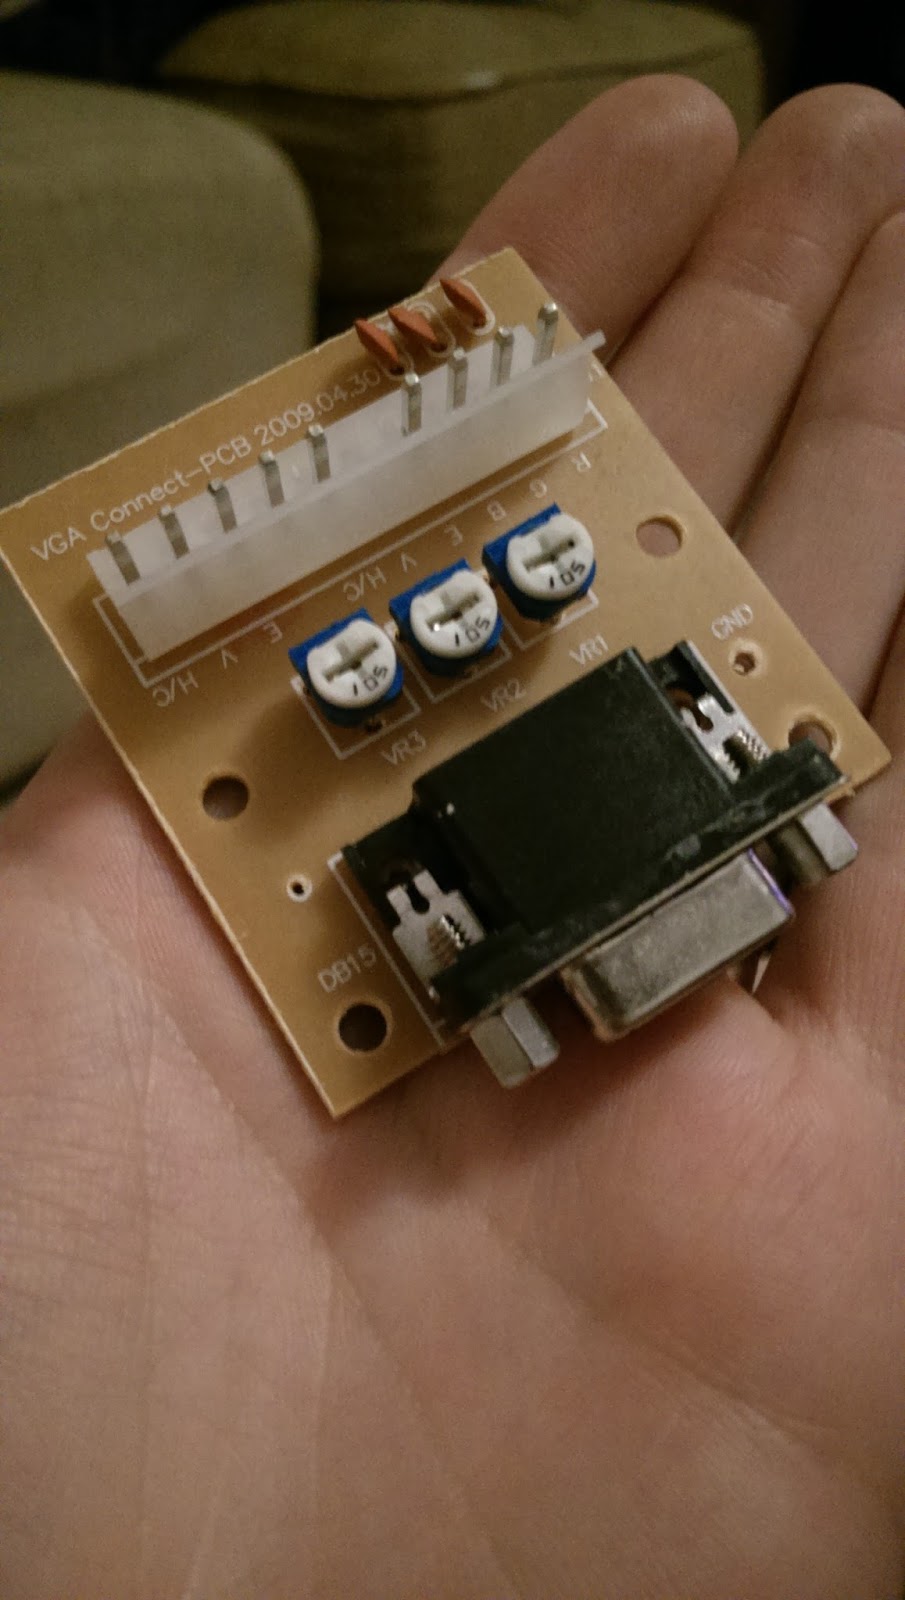
If you're absolutely certain you can make the correct, non-damaging signal, you can skip the J-PAC and use a "dumb" VGA-to-arcade-RGB adapter like this one:
Either way, to get an image to show up, you'll need to use a compatible resolution and sync. On Windows this is achieved through a piece of software known as Soft15khz. In Linux, you can make it happen with the xrandr utility or by adding a custom modeline to your xorg.conf file (which probably doesn't even exist anymore; you'll have to create one from scratch, which is a bit of a hassle). You can also use a custom EDID, which is nice because it works with KMS consoles, but
you'll have to recompile your kernel, nvm, you can specify custom EDIDs from GRUB (
see this post for details). I went with the xrandr method, and I used a custom resolution of 1920x240. This aspect ratio may seem crazy, but CRTs don't really care what kind of horizontal resolution you feed them, so you can use a super-wide resolution like this and it will make fractional (i.e., non-integer) horizontal resolutions all look fine. 1920 also happens to be exactly 5x the 384 horizontal resolution of CPS-1/2, so Street Fighter games will be perfect. The JAMMA video standard calls for negative composite sync, so any custom modelines you create using modeline calculators (
like this one) will need to end with "-HSync -VSync" in order for your monitor to sync up properly.
Once you finally get a picture, it should look something like this:
And that's pretty much it. I purchased an old marquee from eBay for $25 (it has some scratches, but it matches the cabinet's condition, so all the better) and printed out the bezel artwork from
some high-res scans I found online. You can buy professionally printed repros for the bezel art, marquees and control panel overlays (CPOs), but they tend to cost as much as old stock for something as relatively new and common as Street Fighter games.
It's also worth noting that it's illegal to actually charge money to play games on a MAME machine, and you have to pay some taxes and be licensed to even accept quarters for any arcade game, so you'll need to hook up an extra button that goes to the coin mech to give yourself credits.
I have some additional woes with my monitor (including a failing flyback transformer, which causes the screen to get blurry, overbright and show horizontal retrace lines toward the top of the screen), which I will cover in another post, as they don't really relate to the subject at hand.
Update (9/15/2015): here are some shots of my repaired monitor playing some games at native res in RetroArch:


